Want to learn everything about the Dead Rails enemies and entities? Dead Rails is packed with eerie enemies and mysterious entities that lurk across its haunted train yards and abandoned buildings. Therefore, it’s essential to learn about them in order to survive longer in the game. This guide will help you understand every enemy and entity in the game including what they do, how they attack, and the best ways to survive.
All Dead Rails Enemies and Entities
Zombie (Normal Zombie)
HP: 100
Damage: 15
Speed: 15
Spawn Locations: All Buildings except Forts and Bandit Camps
Details: Zombies make up the majority of enemies. They’re slow and weak, but dangerous in groups.
Tips: Use ranged weapons and hit through walls when possible. Backpedal if using melee.
Fast Zombie (Runner Zombie)
HP: 100
Damage: 15
Speed: 25
Spawn Location: All Buildings except Forts and Bandit Camps
Note: These can spawn at night.
Details: These zombies are fast and dangerous.
Tips: Stay near your horse. Funnel them through doorways for easy shotgun kills.
Banker Zombie
HP: 100
Damage: 15
Speed: 16
Spawn Location: Towns (around banks)
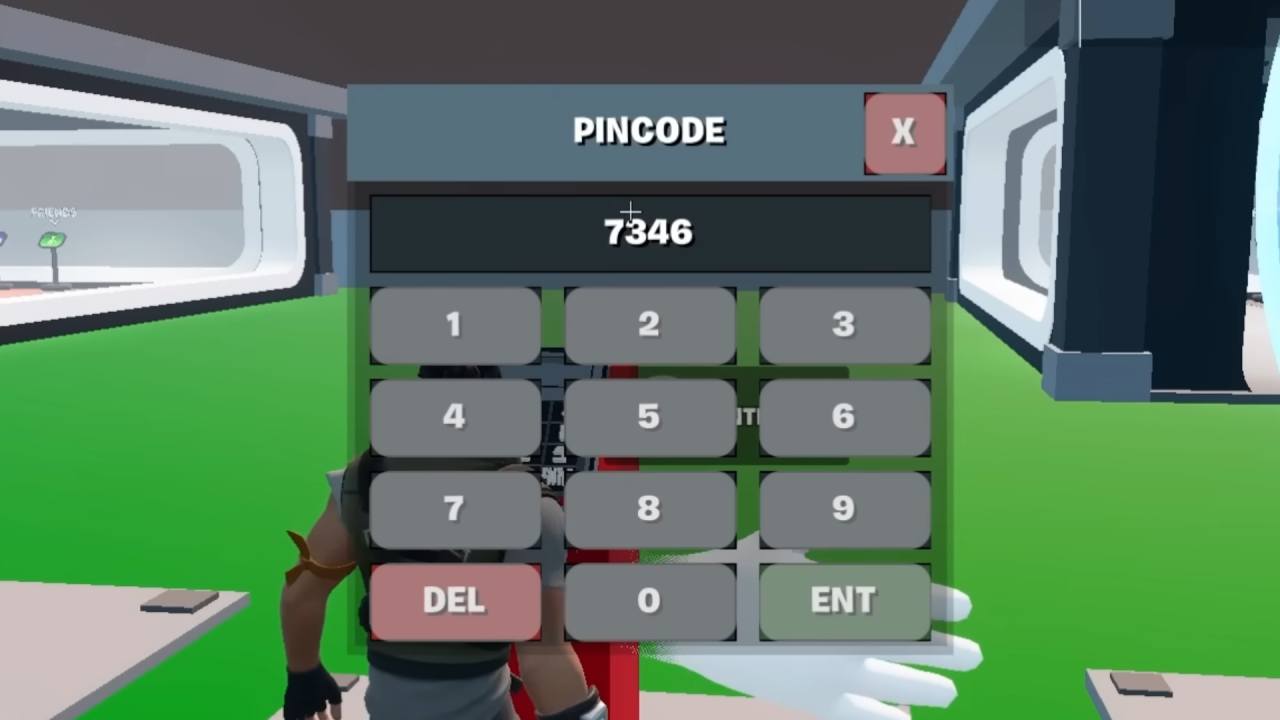
Details: Wears suits and top hats. Drops bank codes used to open vaults.
Tips: Kill them for access to high-value loot.
Dynamite Zombie
HP: 100
Damage: Varies based on proximity (explosive)
Speed: 25
Spawn Location: Inside buildings and tight spaces
Details: Carries bombs and can deal massive AoE damage.
Tips: Kill from a distance using rifles. Avoid indoor fights.
Sheriff Zombie
HP: 100
Damage: ~20
Speed: 16
Spawn Location: Unknown (likely near towns)
Details: Gun-wielding zombie. Low accuracy but dangerous.
Tips: Use cover and ranged weapons to avoid taking hits.
Zombie Soldier
HP: 100
Damage: Varies by weapon (gun or sword)
Speed: 25
Spawn Location: Fort Constitution
Details: Fast-moving armed enemies found only at Fort Constitution.
Tips: Headshots with rifles work best. Kill from long range.
Captain Prescott
HP: 100
Damage: 25
Speed: 16
Sell Value: $150
Spawn Location: Fort Constitution
Details: Drops a key to the fort’s supply room. Can be turned in to Sheriff for $150.
Tips: Rifle headshots work well. No tougher than normal zombies.
Lab Zombie
HP: 100
Damage: 15
Speed: 25
Spawn Location: Tesla Lab (during Nikola Tesla quest)
Details: Appears only when trying to rebuild Nikola Tesla.
Tips: Treat them like Runner Zombies — use range and space.
Outlaw
HP: 100
Damage: 30–100 (based on weapon)
Speed: 30 (horse), 6 (on foot)
Sell Value: $35
Spawn Location: Bandit Camps and ambushes
Details: Human enemies on foot or horseback.
Tips: Rifle headshots are ideal. When chased on horseback, lead them and shoot from behind.
Vampire
HP: 150
Damage: 15
Speed: 16
Sell Value: $15
Spawn Location: Blood Moons, Castle area, and nighttime near players
Details: Teleports close to players and attacks.
Tips: Stay mobile and shoot from a distance. Their teleport range is limited.
Werewolf
HP: 500
Damage: 40
Speed: 25
Sell Value: $20
Spawn Location: Full Moon nights, Castle area, sometimes in wolf packs
Details: High health, fast, and hits hard.
Tips: Always fight from range. Use headshots and mount a horse for mobility.
Skeleton
HP: 100
Damage: 15
Speed: 16
Spawn Location: Sterling Mines
Details: Zombie-like, but only found in mine tunnels.
Tips: Tight spaces make fighting tricky — move cautiously.
Wolf
HP: 100
Damage: 15
Speed: 20
Spawn Location: Desert regions in packs
Details: Agile enemies that travel in groups of 2–5.
Tips: Harder to hit than zombies. You can tame a wolf by dropping a dead body near it — tamed wolves will help in fights.
Horse
HP: 100
Damage: Passive
Speed: 30
Spawn Location: Everywhere in groups of 3–8
Details: Must be tamed using a Saddle.
Tips: Crucial for fast travel and escaping enemies. Can outrun everything.
Nikola Tesla
HP: 5000
Damage: 100
Speed: 25
Sell Value: $300
Spawn Location: Tesla Lab
Details: Endgame boss-type enemy. Extremely strong.
Tips: Requires teamwork or excellent kiting with rifles. Very high reward.
