The new Mariana’s Veil area in Fisch is filled to the brim with five tricky puzzles that are pretty hard to crack without a walkthrough. In fact, some of them even require specific fish, which means you can’t solve them without learning about all the pre-requisites in the game. Therefore, we’ve put together this comprehensive guide to help you complete all five Mariana’s Veil puzzles in Fisch.
How To Solve All Mariana’s Veil Puzzles in Fisch
Mariana’s Veil has the following five puzzles:
- Volcanic Vents
- Challenger’s Deep
- Abyssal Zenith
- Calm Zone
- Veil of the Forsaken
Volcanic Vents
The Volcanic Vents are the first layer of the Cave System. You’ll find the entrance at (-2745, -2325, 865), but you can’t go deeper without unlocking the Submarine Upgrade. Head southeast through the tunnel to grab it.
Once inside, you’ll reach a big cave at (-3420, -2275, 3765). Fishing here gives you regular Ocean fish which is nothing crazy. There’s also a Submariner, an Inn Keeper, and an Upgrade Station where you get the Heat Upgrade (which you need to go further). Need an exit? There’s a portal to Roslit Bay at (-3495, -2255, 3825).
Getting the Heat Upgrade
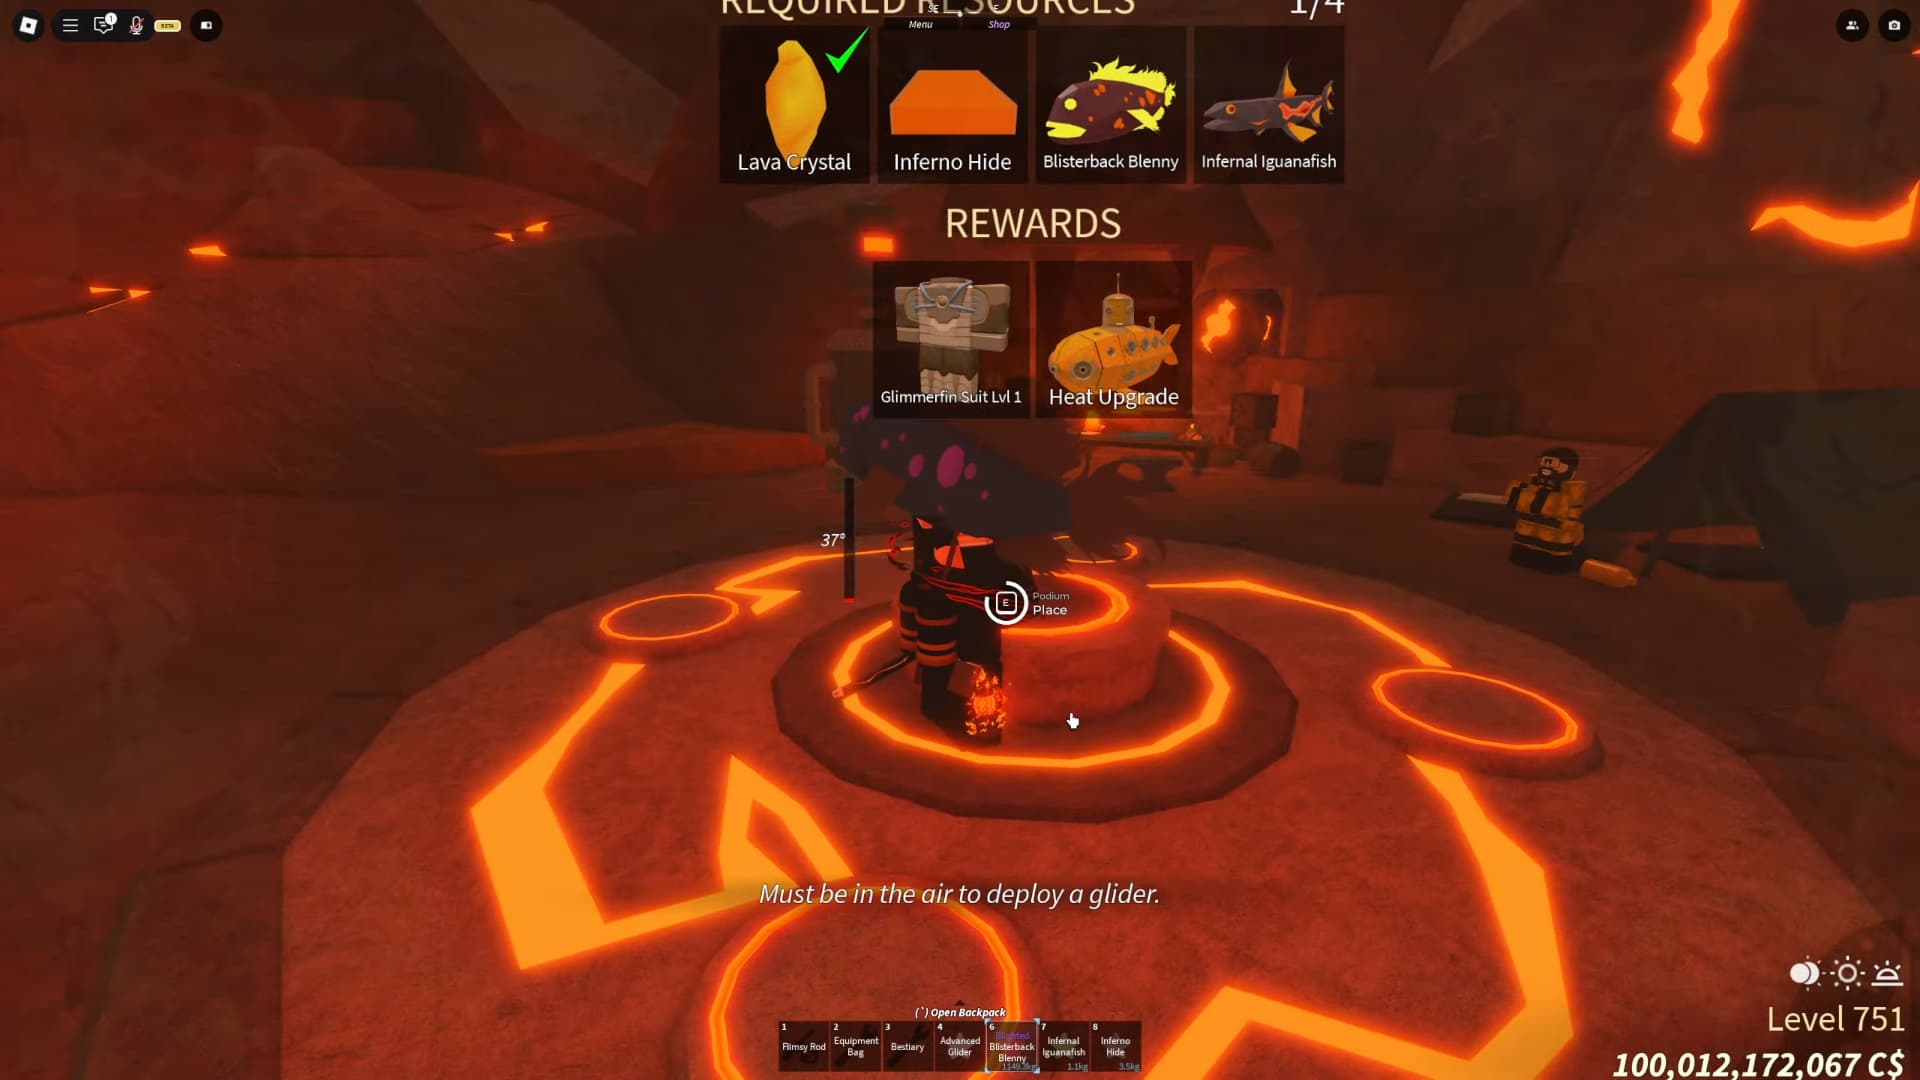
To get it, you’ll need:
- Lava Crystal ×1 (Drill rocks at -3365, -2260, 3850)
- Inferno Hide ×1
- Blisterback Blenny ×1
- Infernal Iguanafish ×1 (Fish these in the Volcanic Vents)
Turn in these at the Upgrade Station to get the Heat Upgrade + Glimmerfin Suit Lvl 1.
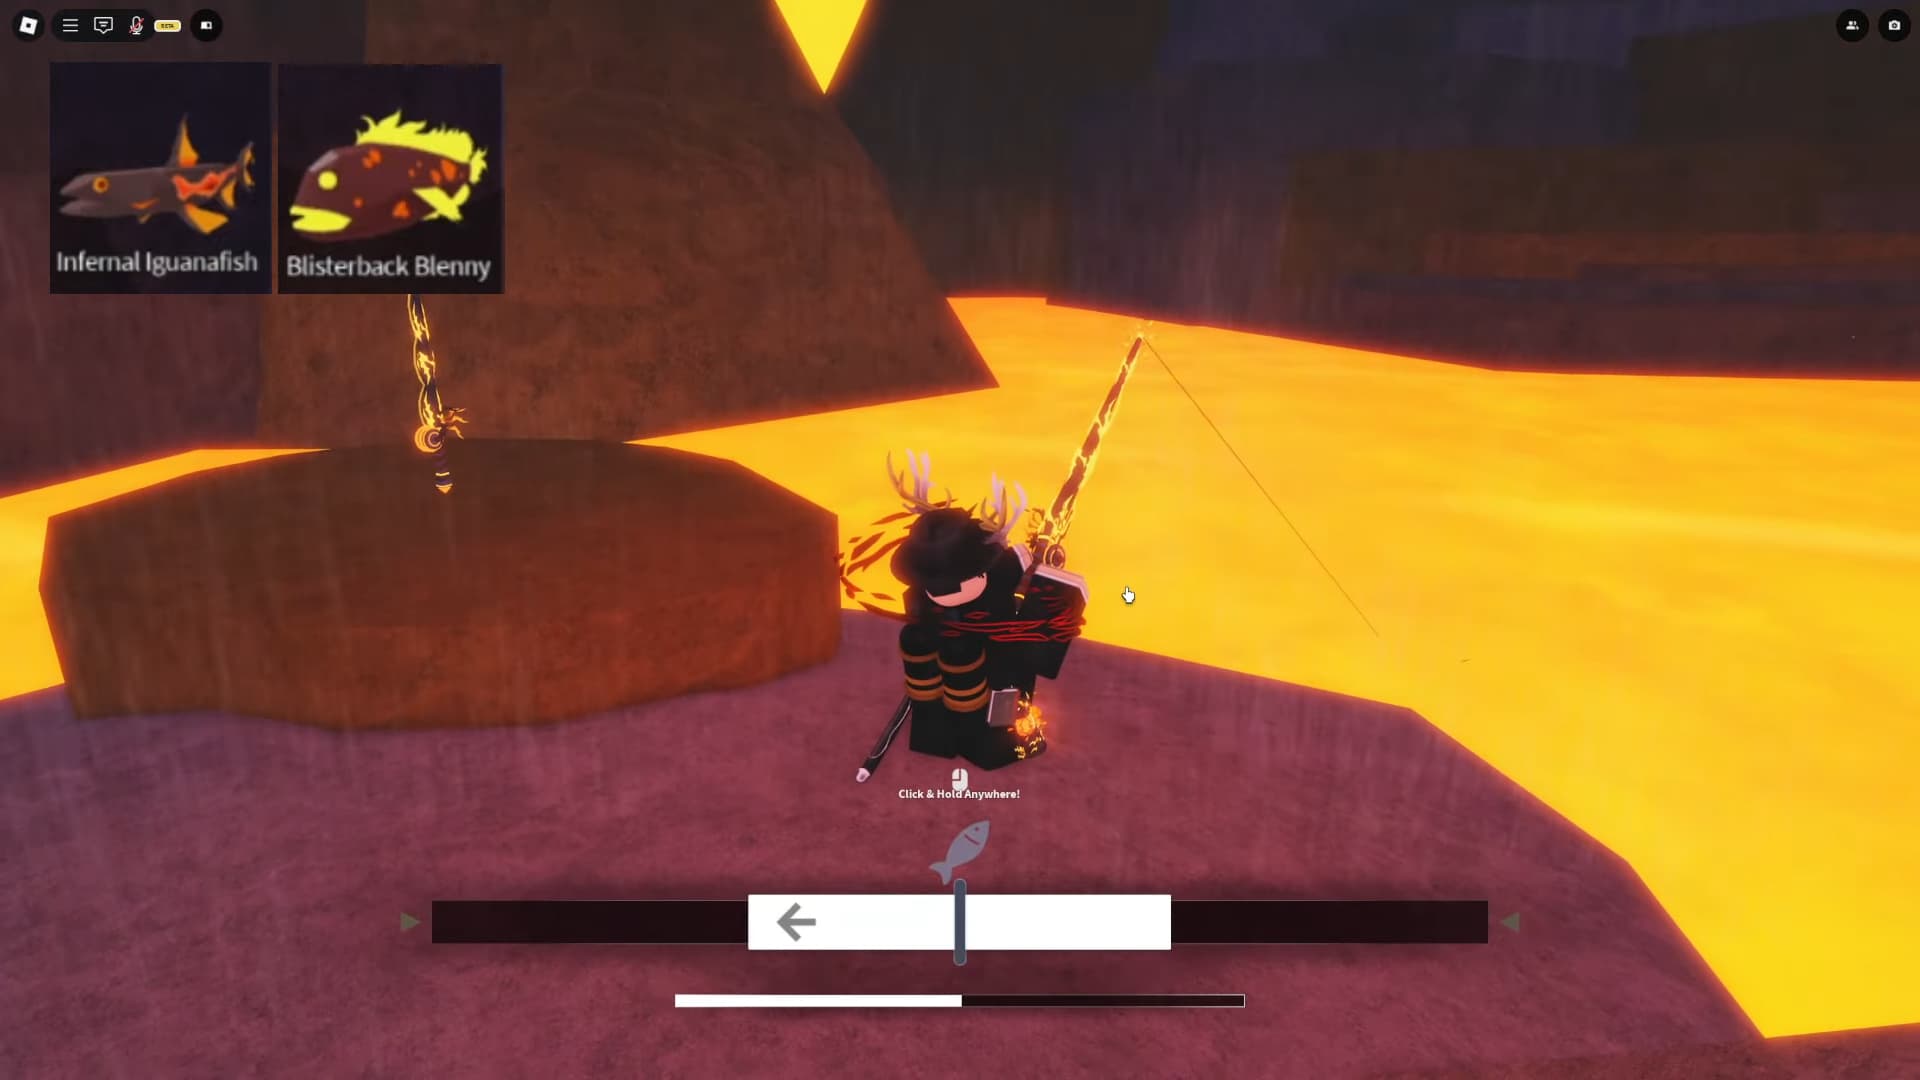
The Lava Obby
To the south, there’s a lava obstacle course with geysers that burn you. A Glider helps, but isn’t required. At the end, there’s a lava pool where you can fish up the materials for the Heat Upgrade & Bestiary.
Want better gear? The Volcanic Rod is sold here for 300,000C$ (-3175, -2035, 4020).
With the Heat Upgrade and Glimmerfin Suit Lvl 1, you’re ready to leave the Volcanic Vents and go even deeper
Challenger’s Deep

Challenger’s Deep sits below the Volcanic Vents, with the entrance at (-2630, -3830, 755). Just like before, you’ll need to take a tunnel (northwest) to unlock the gear required to go deeper.
At the end, you’ll find a huge ice cave (-835, -3295, -625). Fishing here gives you regular Ocean fish again. Inside, there’s a Submariner, an Inn Keeper, and the Upgrade Station where you grab the Ice Upgrade (needed to go further).
Need to leave? There’s a portal to Roslit Bay at (-735, -3280, -725).
Inside Challenger’s Deep, you’ll lose Warmth unless you have:
- Winter Cloak or
- Glimmerfin Suit Lvl 2
If you start freezing, there’s a campfire near the portal at (-760, -3280, -715).
Getting the Ice Upgrade

To unlock it, you need:
- Ice Crystal ×1 (Drill rocks at -800, -3280, -625)
- Cryoskin ×1
- Polar Prowler ×1 (Fish these in the Ice Tunnel)
Turn these in at the Upgrade Station to get the Ice Upgrade + Glimmerfin Suit Lvl 2.
The Ice Tunnel
To the northwest, there’s an Ice Tunnel leading to a pool where you can fish up the materials for the Ice Upgrade & Bestiary.
Abyssal Zenith
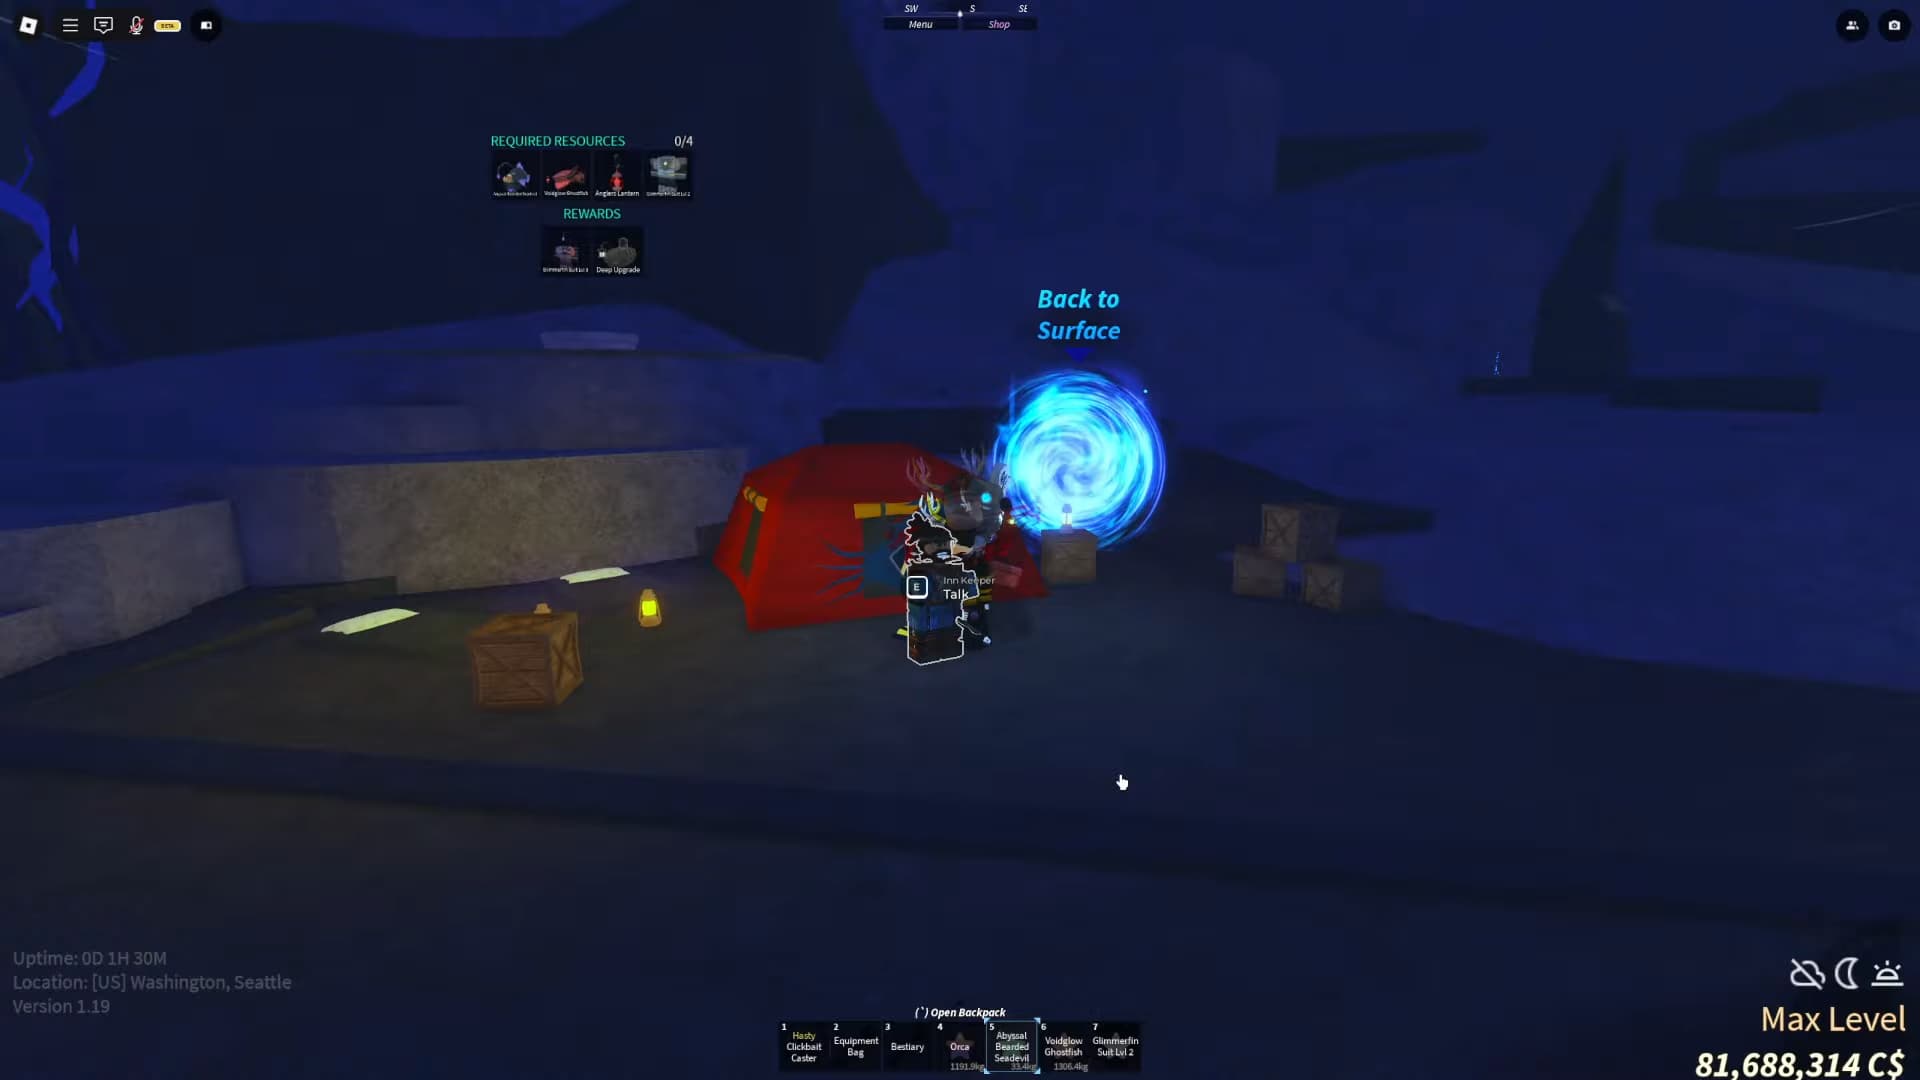
Abyssal Zenith is deep below Challenger’s Deep, with the entrance at (-5375, -7390, 400). Just like before, you can’t go further until you get the Angler Lantern from this area.
The tunnel here is longer and darker than the previous ones, with obstacles blocking the way. It’s a good idea to bring Sundial Totems to keep it Daytime for better visibility.
Midway through, you’ll have to dodge huge anglerfish in horizontal tunnels. If they hit you, you’ll get teleported back facing away from the Abyssal Zenith.
Getting the Deep Upgrade
To unlock it, you need:
- Angler Lantern (Found in Abyssal Zenith)
- Glimmerfin Suit Lvl 2 (From Challenger’s Deep)
- Abyssal Bearded Seadevil ×1
- Voidglow Ghostfish ×1 (Fish these in Abyssal Zenith)
Turn these in at the Upgrade Station to get the Deep Upgrade + Glimmerfin Suit Lvl 3.
In the pond, three massive anglerfish will kill you on contact. You’ll need to calm them by feeding them:
- Orca or
- The Kraken
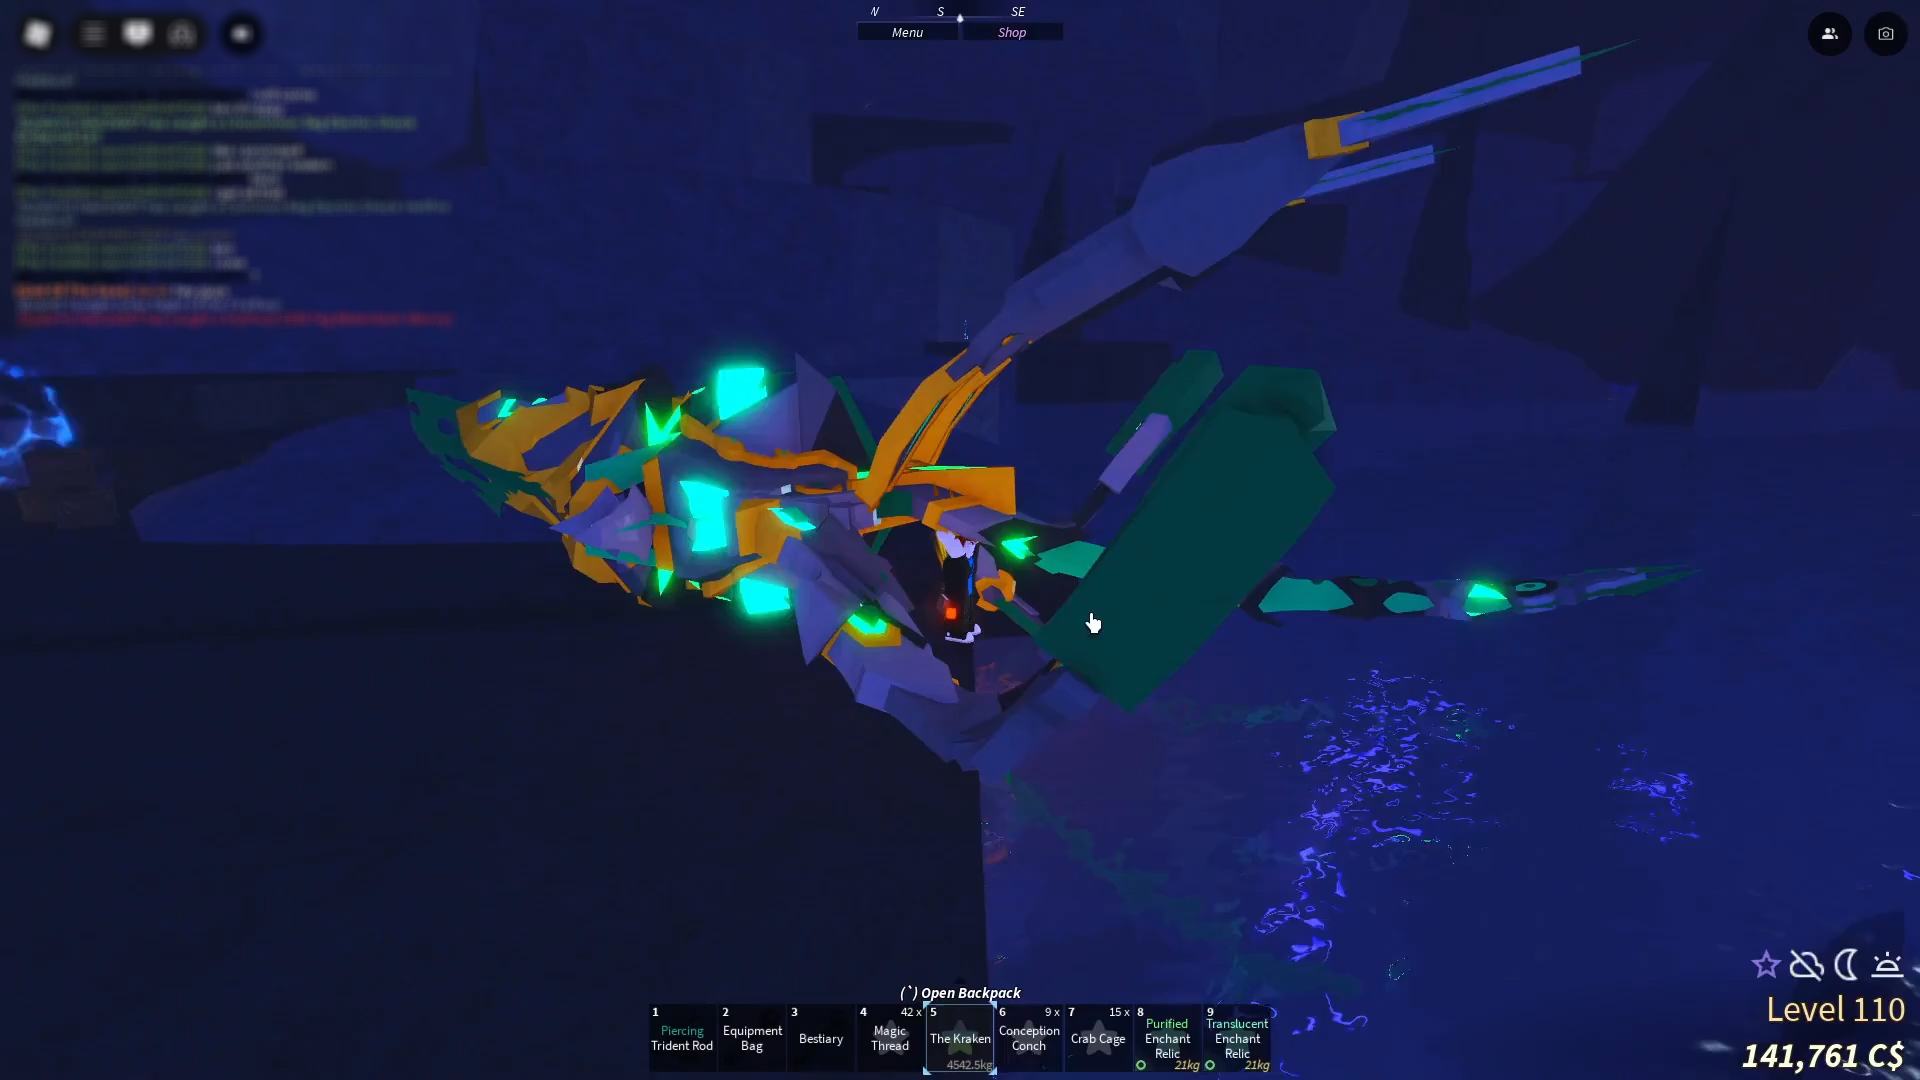
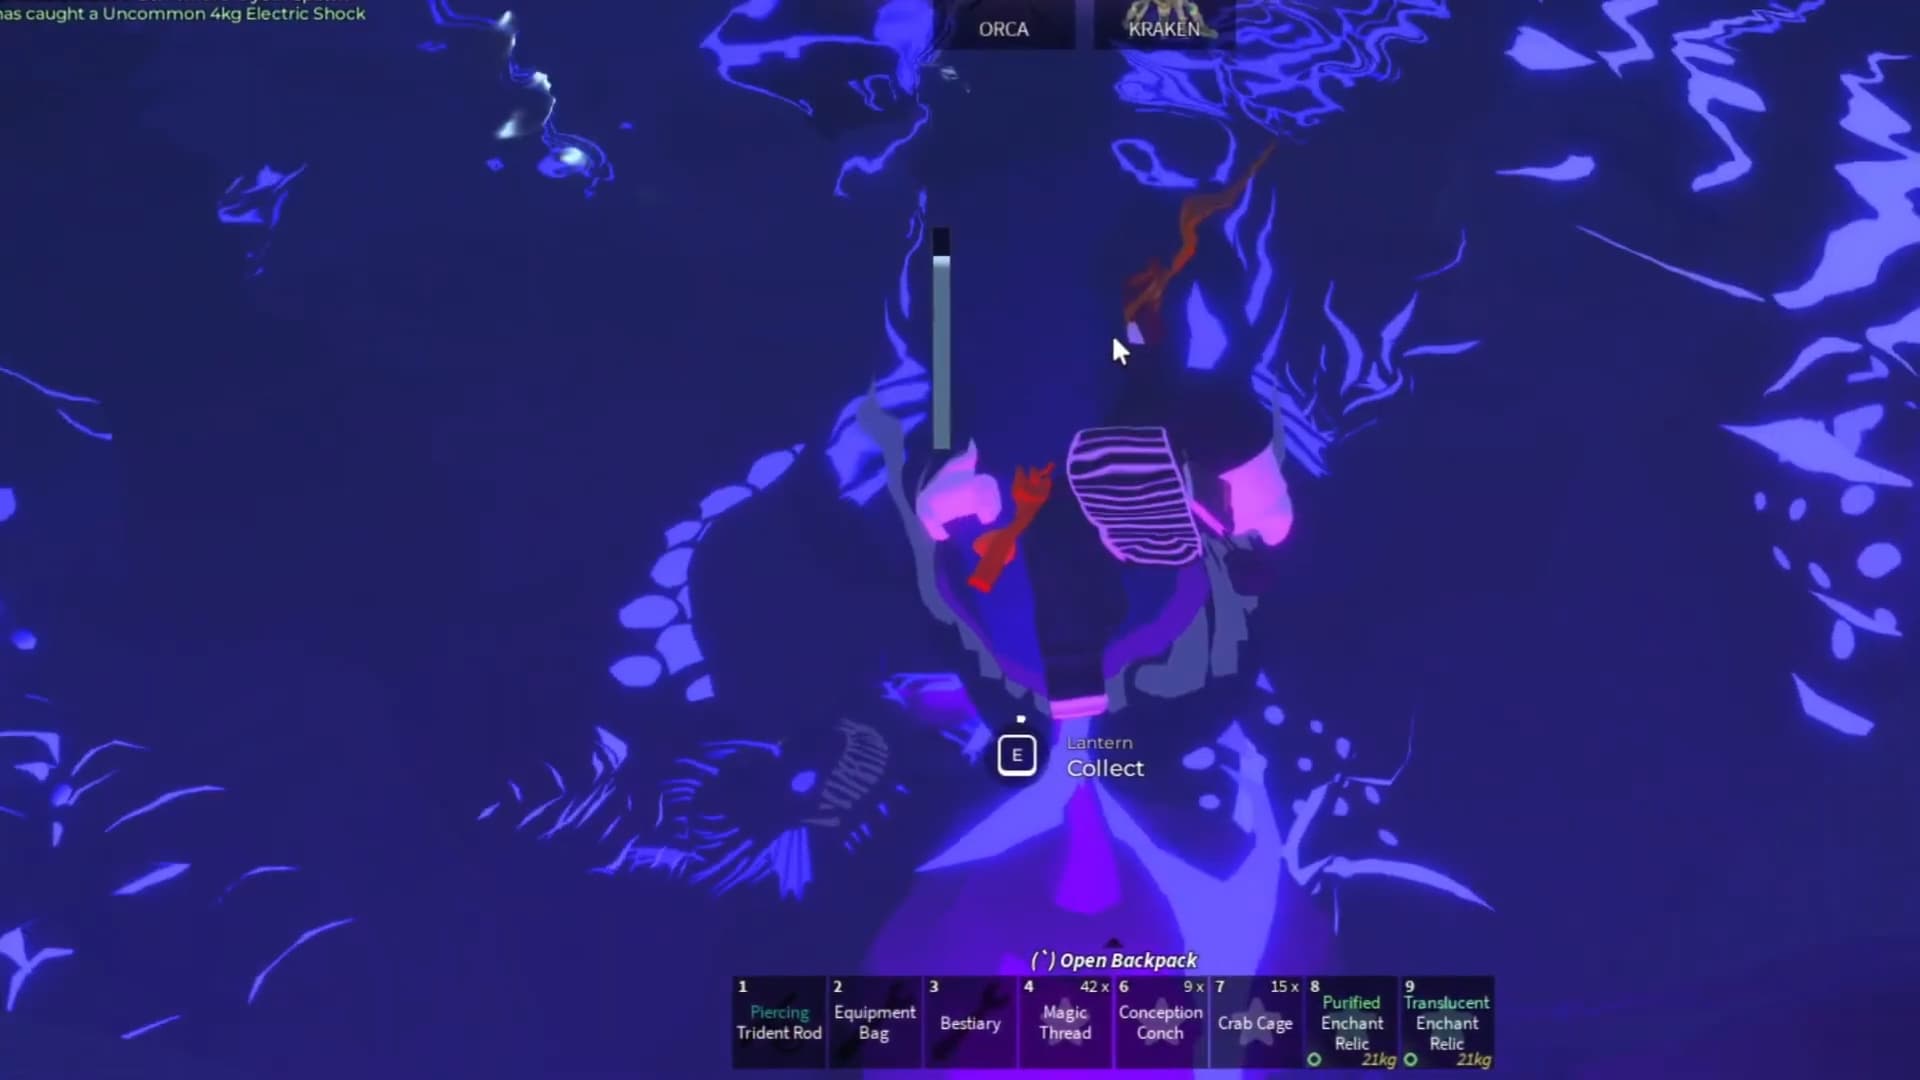
Hold one of these, wait for an anglerfish to approach, then feed it. This puts them to sleep for five minutes, letting you grab the Angler Lantern.
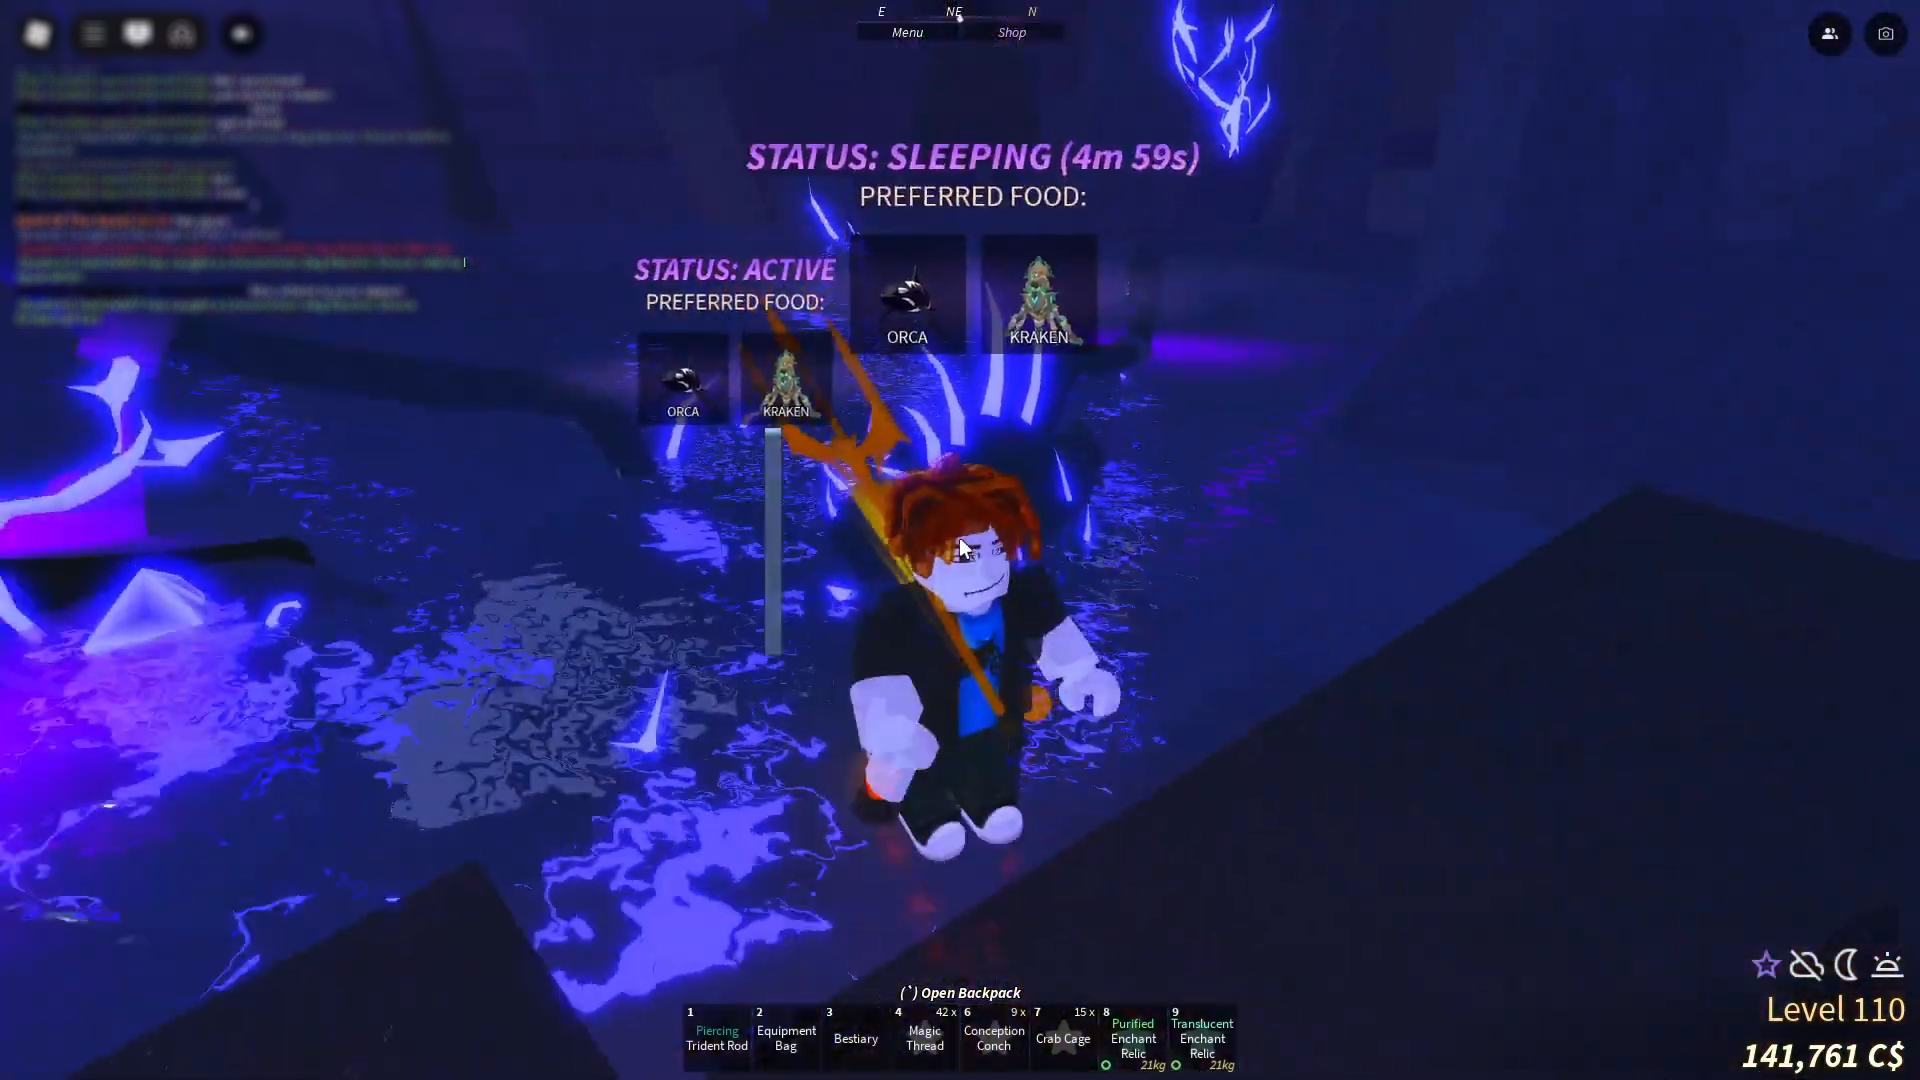
Pro tip: Bring enough Orcas/Krakens to knock out all three so you don’t get eaten mid-grab.
Since the anglerfish sink while sleeping, you’ll need a Water Bubble or Advanced Diving Gear to avoid drowning while collecting the lantern.
Once you’ve got the Angler Lantern, Deep Upgrade, and Glimmerfin Suit Lvl 3, you’re ready to descend even further.
Calm Zone
The Calm Zone is at the very bottom of the caves, located beneath Abyssal Zenith. The entrance is at (-4145, -11210, 1395), and it’s the last area in the Cave System. After this point, no more submarines are used.
Fishing at the entrance will catch regular Roslit Ocean fish.
There are no NPCs, and you won’t find any upgrades here.
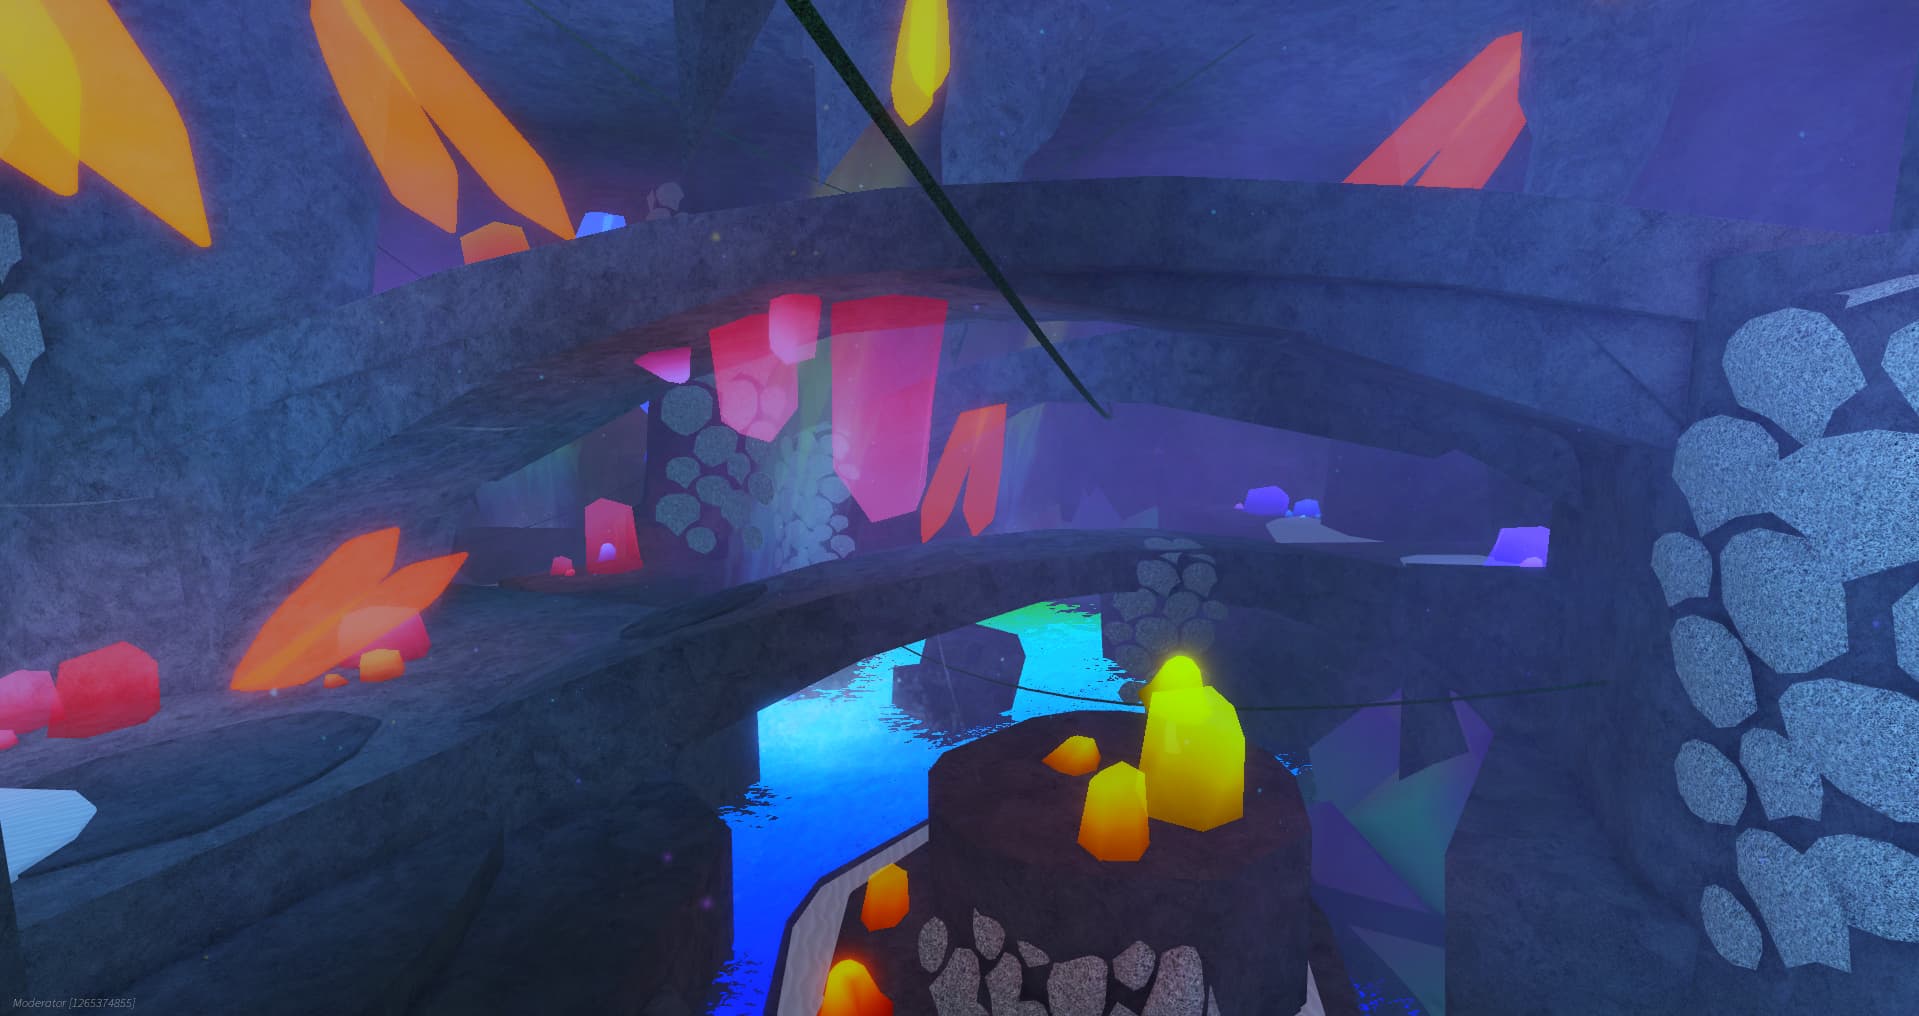
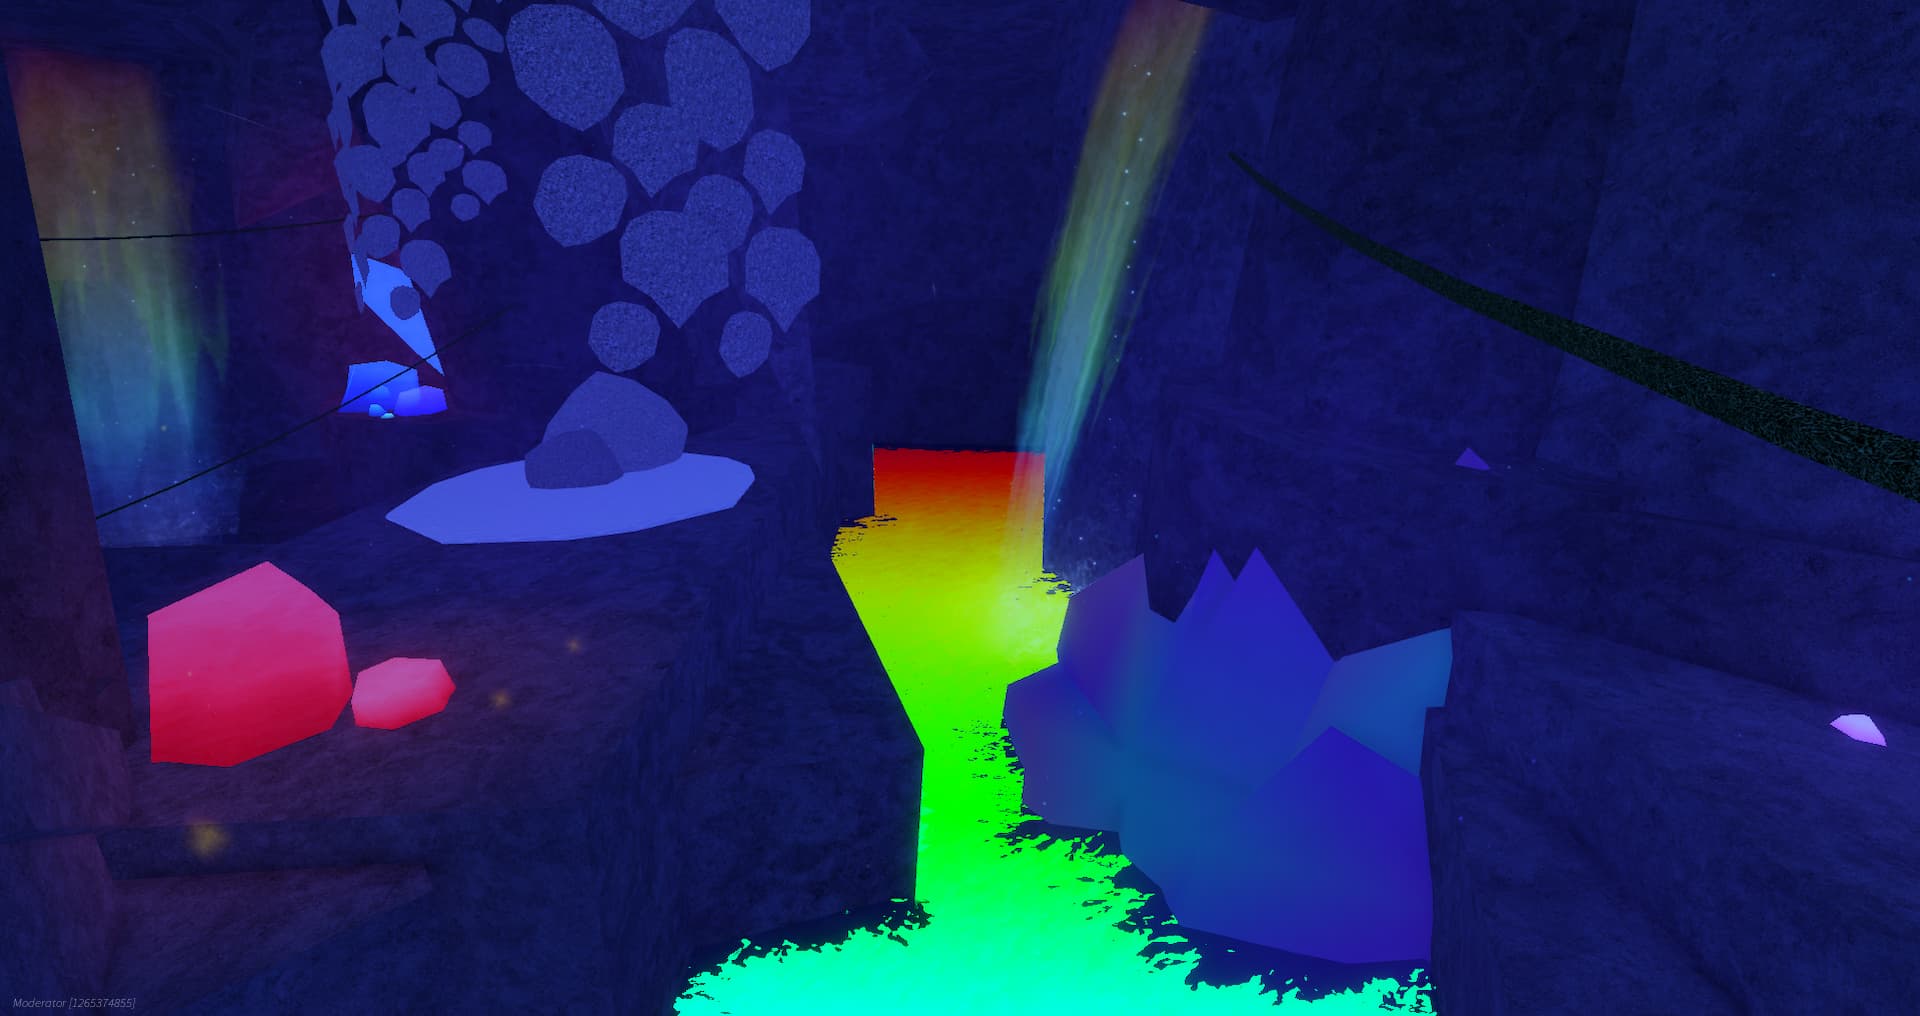
However, you can fish in the rainbow water around the Calm Zone to complete the rest of the Calm Zone Bestiary.
Veil of the Forsaken
The Veil of the Forsaken is the last stop in Marianas Veil, where you’ll face off against the Scylla Boss. Here’s how you get there:
Getting to the Veil of the Forsaken
- Find the Hidden River in the Calm Zone.
- Go underwater and follow the tunnel until you reach a huge gate.
- To open the gate, catch these 3 special fish:
- Frozen Leviathan (Challenger’s Deep)
- Crowned Anglerfish (Abyssal Zenith)
- Magma Leviathan (Volcanic Vents)
Once you have all three, place them in the gate to open it and enter the next area. You’ll see rainbow water and can catch more fish.
Scylla Puzzle
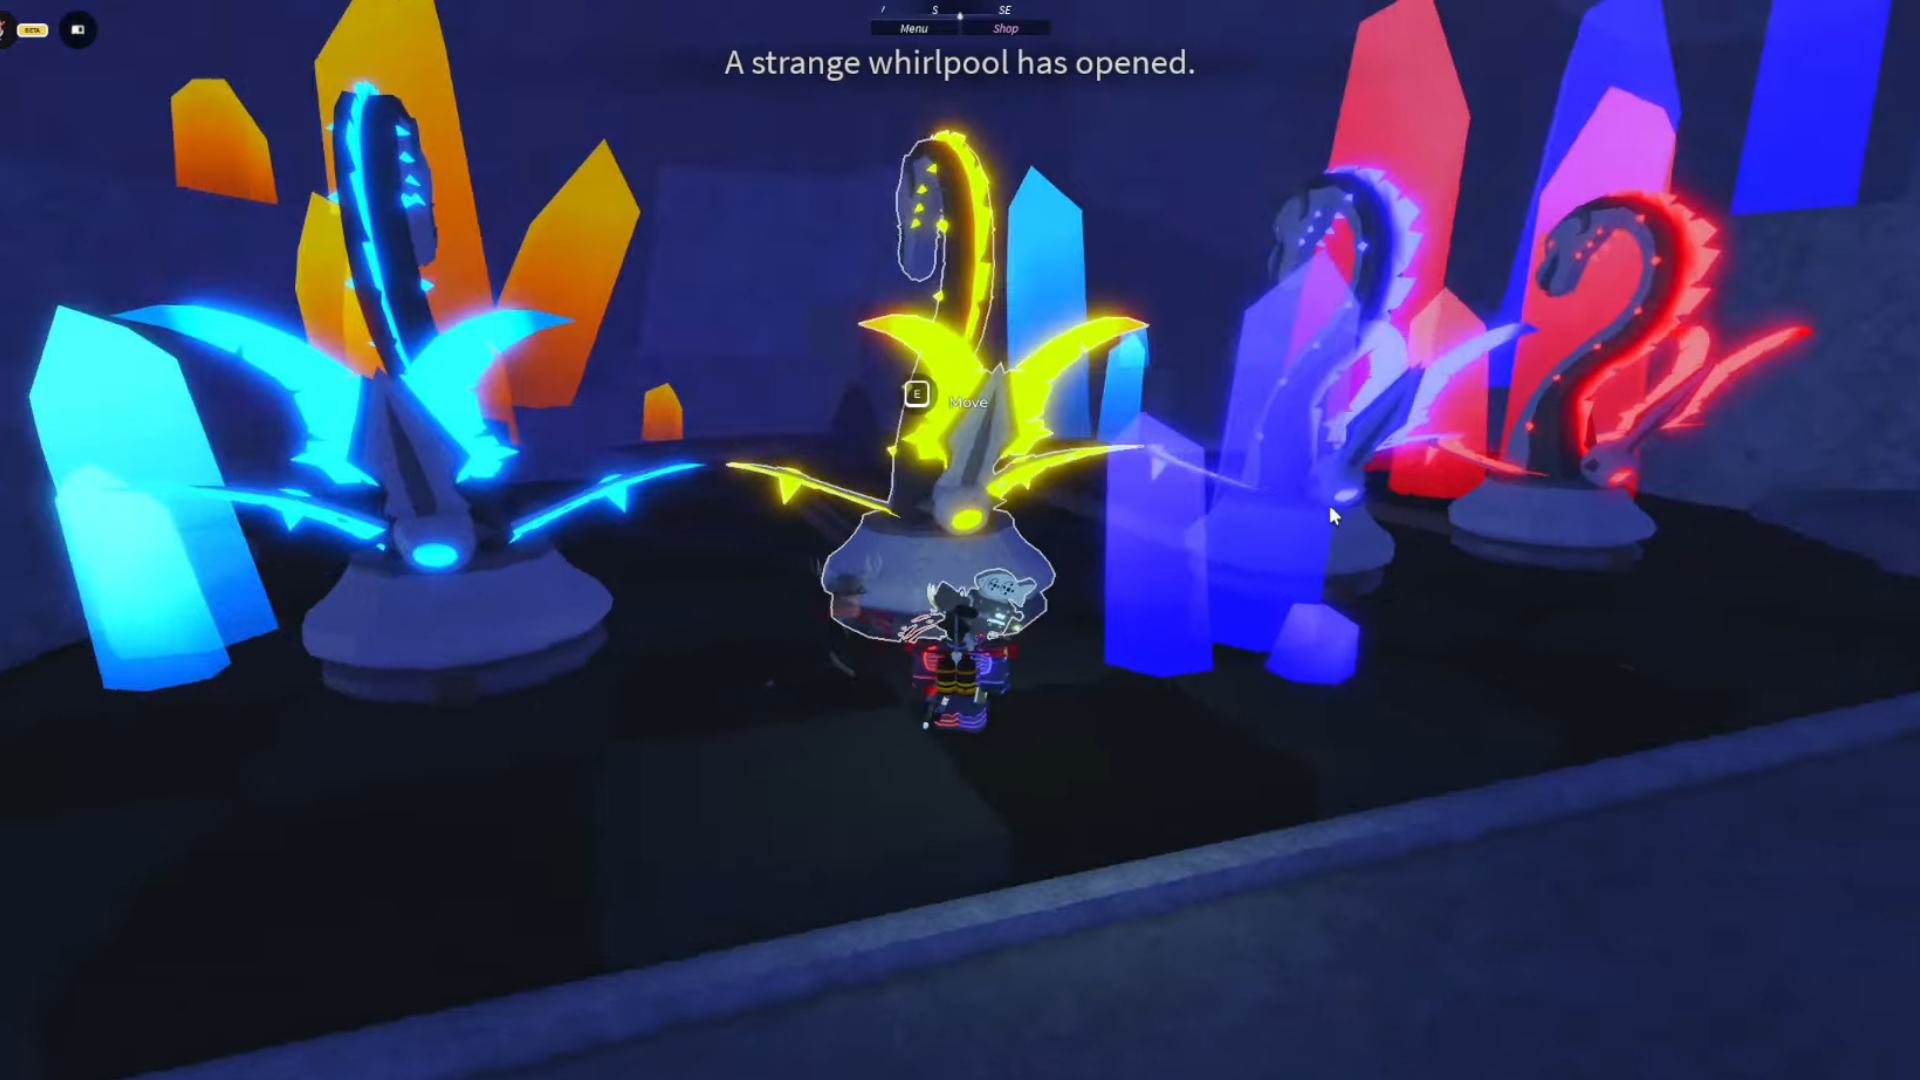
Next, you’ll face a puzzle with 4 Scylla heads. Move the statues to the right spots, but keep in mind the positions change each time. You’ll need to solve it before the timer runs out. Fail, and you’ll have to wait to try again.
When you solve the puzzle, a trapdoor opens, and you’ll fall into the Veil of the Forsaken.
Scylla Boss Fight
Once you drop down, you’ll be in a waiting room for the Scylla fight. The Scylla has four heads, each firing different fireballs at you. If all four hit, you’ll die and respawn back at the Chessboard Puzzle.
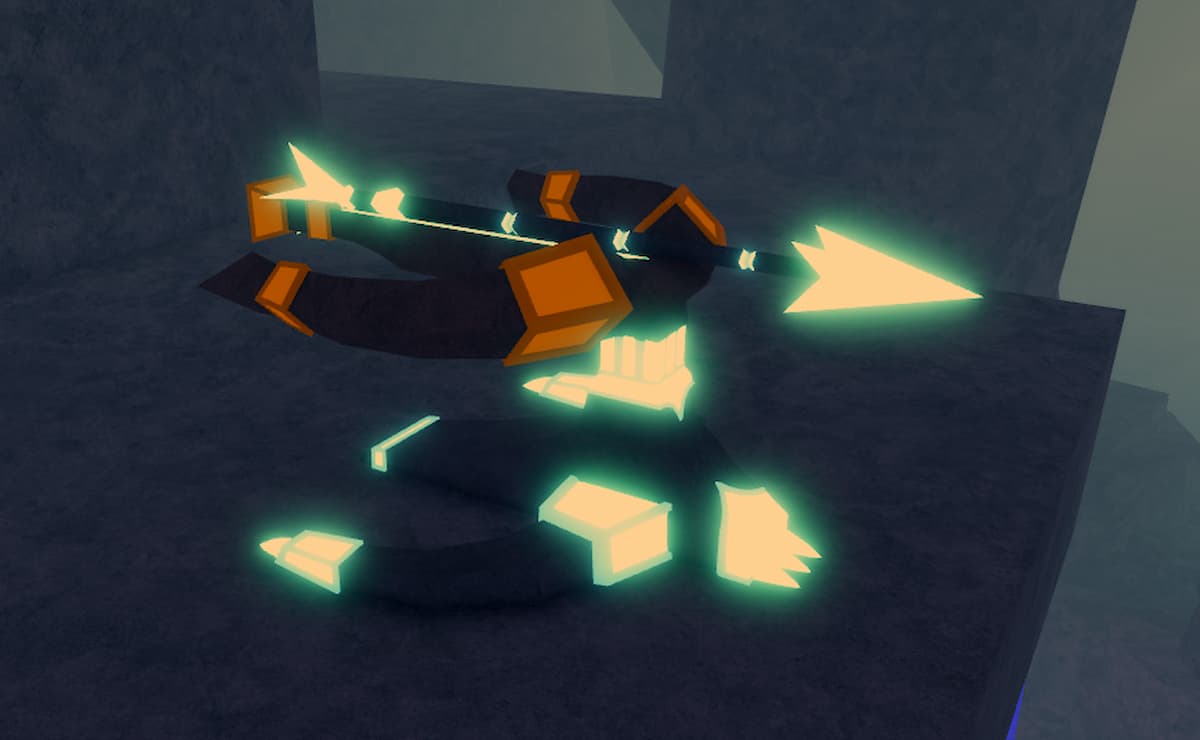
To defeat Scylla, you need to gather Crossbow parts scattered around the room:
- Crossbow Base (North side)
- Crossbow Bow (North-East)
- Crossbow Arrow (North-West)
Be careful not to fall in the water, or you’ll lose the parts! Once you’ve got all the pieces, return them to the Crossbow above the entrance, and a cutscene will play where you’ll use it to kill Scylla.
After the Fight
Once you defeat Scylla, you’ll get to explore the Veil of the Forsaken. You won’t be able to fight Scylla again, and the chessboard puzzle will stay open for you.
Scylla Hunts
After the Scylla fight, you can join Scylla Hunts, which are like Kraken Hunts. If you haven’t beaten the boss yet, you can’t join, but once you do, the hunts are yours to tackle